
Interior Painting in the Upper East Side: What Pre-War Co-op Owners Should Know
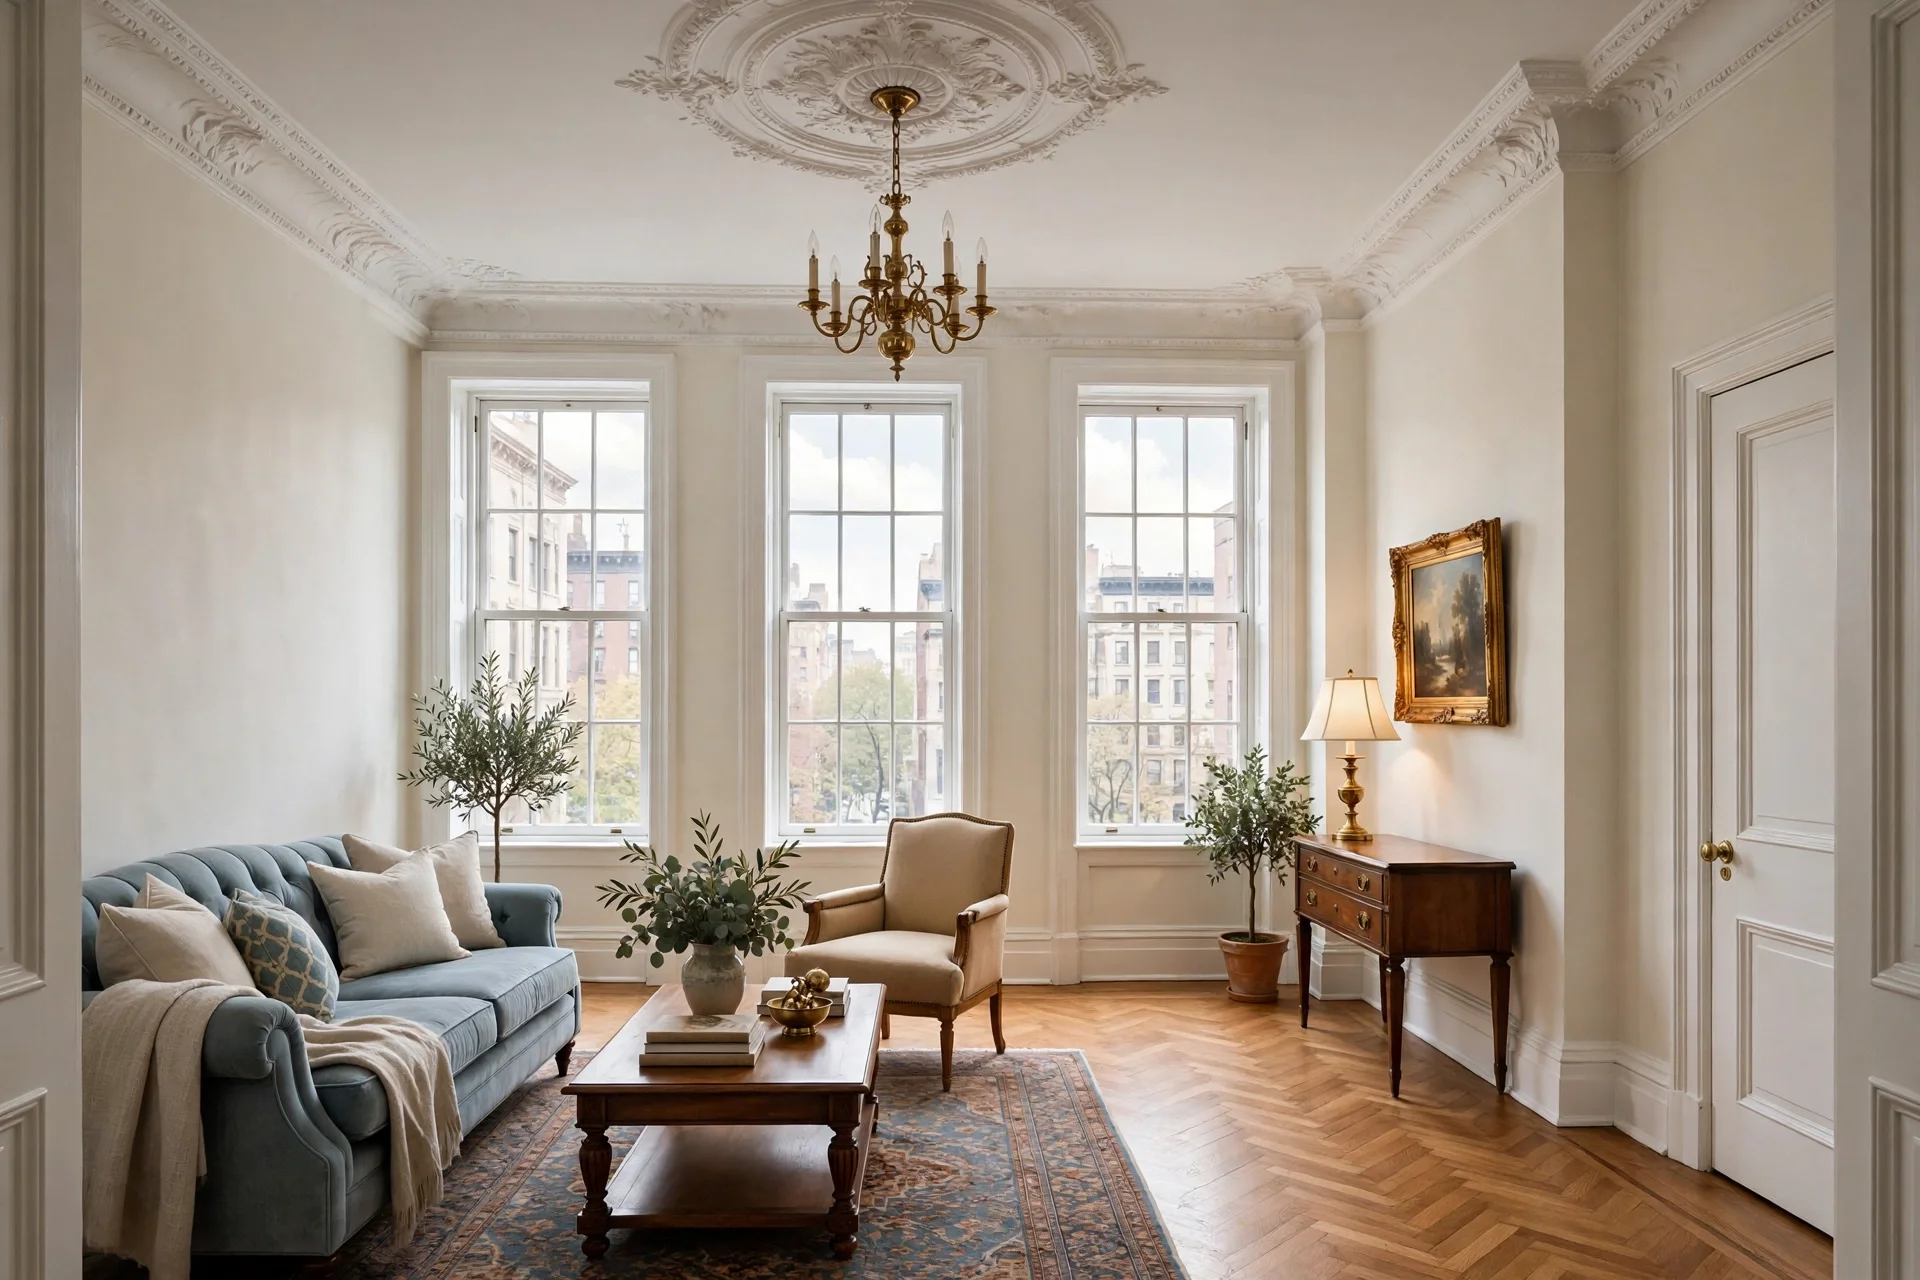
Painting an Upper East Side co-op is not the same as painting anywhere else in New York. Behind those gracious lobbies on Park and Fifth Avenue sit some of the most demanding buildings in the city — pre-war co-ops with strict boards, century-old plaster walls, landmark protections, and alteration rules that can add weeks to your timeline before a single brushstroke goes on the wall. If you own a pre-war co-op on the Upper East Side and you're planning an interior paint job, here is what you need to know before you schedule the work.
The building stock: why UES pre-war co-ops are different
The Upper East Side's identity is built around its pre-war apartment houses. The Upper East Side Historic District was first designated by the Landmarks Preservation Commission in 1981 and covers Fifth Avenue properties from 59th to 78th Street, both sides of Madison Avenue from 61st to 77th, both sides of Park Avenue below 62nd to 72nd, and portions of Lexington Avenue — with a 74-building extension approved in 2010 along Lexington Avenue between the 60s and 70s (CityLand coverage). Many of the neighborhood's grandest co-ops sit inside or adjacent to this district.
For interior painting, landmark status mostly matters when your work touches shared or exterior elements — replacement windows, for example, require LPC approval. Pure interior painting of walls and ceilings inside your unit does not need landmark review. But living in a landmarked building is a good reminder of what you're working with: apartments built in the 1920s and 1930s with original plaster walls, decades of layered paint, oil-based trim enamel, and crown moldings and ceiling medallions that reward careful prep.
The practical upshot: hire painters experienced with pre-war apartments, not general handymen. Old plaster cracks, buckles, and fails differently than drywall, and the fix — proper patching, skim coating, and bonding primers — takes more time and skill than a quick roller pass.
Co-op board rules: the alteration agreement comes first
Before you can paint a wall in most Upper East Side co-ops, your board (or its managing agent) has to approve the project. Co-op alteration agreements are standard in New York: you submit the agreement along with your contractor's quote and proof of insurance, and the board signs off on the work before it begins. (Knockout Renovation explains the paperwork and fees).
What boards typically require from your painter:
- A certificate of liability insurance, usually a minimum of $1 million in comprehensive personal liability and property damage coverage, naming the cooperative corporation, the managing agent, and you as the unit owner.
- Workers' compensation and employer's liability covering every worker on the job.
- A security deposit held by the building, against damage to common areas like hallways and elevators.
- A processing or alteration fee, which can be a flat fee or a recurring weekly charge for the duration of the work.
None of this is negotiable, and gathering the paperwork takes time — typically one to three weeks depending on the managing agent. Start the process before you pick paint colors, not after. Your apartment painting contractor should be fluent in this routine: providing COIs that name the right parties, scheduling work within the building's allowed hours, and booking the service elevator for material deliveries. If a painter can't produce a COI promptly, that's a disqualifier in a co-op building — no matter how good the price looks.
Many buildings also restrict work to weekday hours (often 9 AM–5 PM, sometimes with a lunch quiet period), prohibit weekend work entirely, and limit projects to certain months. Ask your super or managing agent for the house rules document before you sign anything with a painter.
Lead paint law: your pre-1960 building is presumed to contain it
This is the section most owners underestimate. New York City's lead paint rules are the strictest in the country, and they apply squarely to Upper East Side pre-war co-ops.
Under Local Law 1 of 2004, paint in buildings with three or more residential units built before 1960 is legally presumed to contain lead until tested and proven otherwise. Then Local Law 31 (2020) required owners of pre-1960 buildings to have XRF lead inspections of all dwelling units and common areas — a testing deadline that fell in August 2025.
What this means for your painting project:
- Your painter must follow EPA RRP (Renovation, Repair, and Painting) lead-safe work practices when working in pre-1960 properties that may contain lead paint — dust containment, proper cleanup, and no dry scraping or open-flame methods.
- Where a child under six routinely spends 10 or more hours per week, the rules get stricter: disturbing more than 100 square feet of paint in a room or removing two or more painted windows requires a contractor certified in both EPA Renovation and lead abatement.
- Violations are expensive — Local Law 1 noncompliance is an immediately hazardous violation carrying civil penalties up to $5,000 per violation.
In practice, most repaint projects in a well-maintained apartment don't disturb enough paint to trigger the strictest provisions, especially if the existing paint is sound and simply being recoated. But pre-war apartments often have flaking trim paint, crumbling window casings, or decades of alligatored enamel that genuinely needs disturbance — and that's exactly when you want a painter who knows the rules and contains the dust properly. Ask your painter directly how they handle lead-safe work in pre-1960 buildings. A professional answer is specific; a vague one is a red flag.
Plaster walls, old trim, and what the prep should include
The signature feature of a pre-war Upper East Side apartment is the plaster wall — and its signature problem is that it fails in layers. Common conditions:
- Hairline cracks at stress points (door frames, window corners, ceiling joints). These need to be opened, filled, taped or patched, and spot-primed — not just painted over, or they'll return within a year.
- Delaminating paint, especially on trim and windows that were originally finished in oil-based enamel and later coated with latex. Latex over glossy oil without proper prep peels in sheets. The fix is degreasing, scuff-sanding, and a bonding primer — or full stripping for the worst cases.
- Uneven, wavy walls from decades of patching. A level-4 skim coat (a full thin coat of joint compound over the whole surface) is often what separates a pre-war paint job that looks flat and modern from one that shows every bump in raking afternoon light. It's extra work, but in rooms with tall ceilings and big windows, it pays for itself.
- Original trim details — crown molding, baseboards, door casings, ceiling medallions — that deserve hand-cutting with a brush rather than tape-and-roller. Protecting these details is part of what you're paying for in a co-op paint job.
Wall and ceiling specialists who work in the neighborhood should be quoting prep line by line — patching, sanding, priming, skim coating — not burying it in a lump sum. If two bids differ wildly, the difference is almost always in the prep scope.
Colors and sheens that suit pre-war apartments
Pre-war rooms were designed for layered, formal living, and the paint should respect the architecture:
- Walls: Warm off-whites are the safest bet in the Upper East Side — they flatter ornate moldings and read as elegant rather than stark. Popular picks in this register include Benjamin Moore's White Dove, Swiss Coffee, and Edgecomb Gray. Slightly warm neutrals also hide the imperfections of old plaster better than bright whites.
- Trim: A crisp white enamel in semi-gloss or satin makes original millwork pop. Historically these trims were oil-based; modern acrylic-alkyd hybrids give the same hard, level finish without the yellowing.
- Ceilings: Flat white, always — flat sheen hides imperfections in plaster ceilings, and anything glossier will telegraph every flaw under the room's lighting.
- Dining rooms and studies: Pre-war layouts reward a little drama — a deep green, navy, or warm charcoal on dining room walls pairs beautifully with white trim and high ceilings, and it suits the formal-bones architecture far better than it would in a white-box condo.
One note on co-op rules: some buildings have house rules about exterior-visible elements (like window frame paint visible from the street in landmarked buildings). Interior wall color is your choice — boards don't regulate it — but confirm anything visible from the facade.
Timing, logistics, and what a realistic quote looks like
A pre-war co-op paint job on the Upper East Side typically takes longer than the same square footage elsewhere, for three reasons: the board paperwork adds one to three weeks before work can start, prep is heavier, and building rules compress the workday. A two-bedroom co-op that might take four days in a rental building can take six or seven once skim coating and board-hour constraints enter the picture.
On pricing: repainting an apartment in New York varies widely with prep scope, and pre-war co-ops sit at the higher end of the range because of that prep. We've broken down what painting an apartment in NYC actually costs in 2026 — use it as a baseline, then expect pre-war plaster prep to push the number up. Get the prep itemized so you're comparing like with like.
For more on vetting contractors in Manhattan generally — insurance, references, what to ask in the estimate visit — see our guide to the best painters in Manhattan.
The bottom line
Painting a pre-war co-op on the Upper East Side is a three-part project: board approval, lead-safe and plaster-savvy prep, and finishes that honor the architecture. Get the paperwork moving early, hire painters who know pre-1960 buildings and can name your co-op on a certificate of insurance without blinking, and don't let anyone skip the skim coat on tired plaster.
If you're planning a repaint in Lenox Hill, Carnegie Hill, or Yorkville — or anywhere on the Upper East Side — get a free quote from NYC Painters. We'll walk your apartment, itemize the prep your plaster actually needs, and handle the board paperwork the way your building expects.